About Me
Categories
Life
Food & Drink
Greek Myths
Travel
Style
Home Decor
Wonderful Women Interviews
Opinion
Competitions
Video & TV
Press
Work With Me
Buy My Book MUMBOSS (UK and Australia)/The Working Mom (US and Canada)
I’ve Written A Children’s Book Retelling Greek Myths!
George Psarias
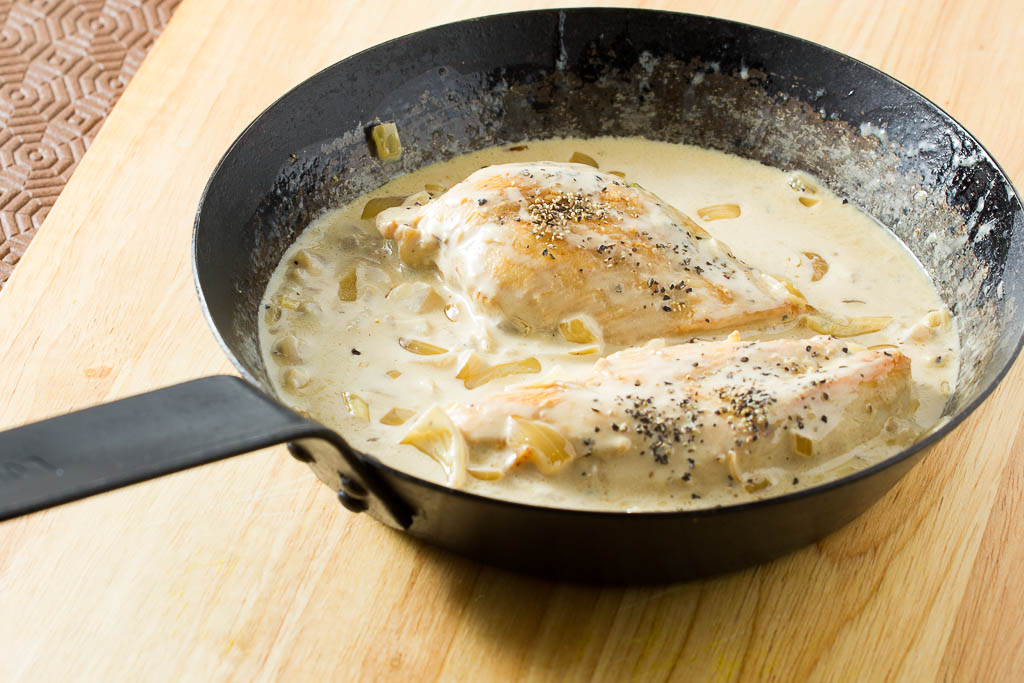
Perfect Chicken Hydra (Kotopoullo Tis Idras)
June 18, 2026
A chicken dish my eldest loves.
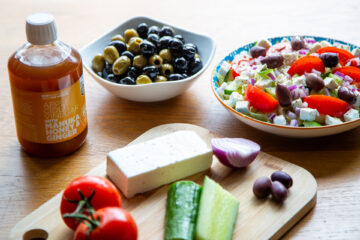
Greek Salad Recipe
June 18, 2026
A recipe for the famous and much-loved Greek salad.
Greek Chicken Casserole (Kotopoulo Yiahni)
June 17, 2026
My Dad's recipe.
Pan-Fried Cod with Spinach and Lemon Potatoes
June 17, 2026
My guests love this.
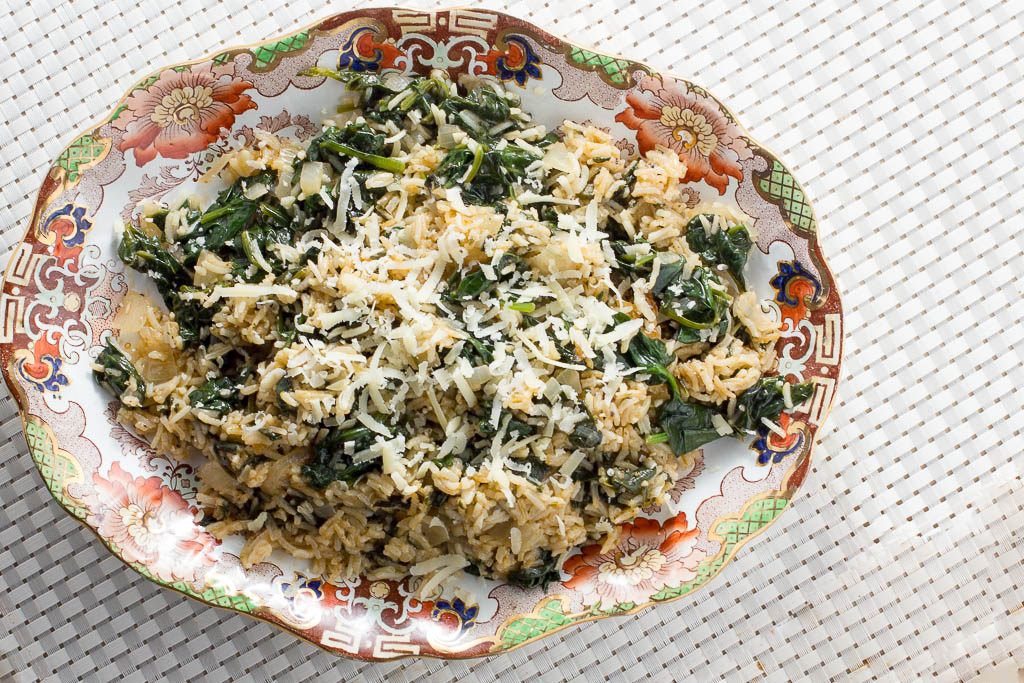
Recipe for Spinach Rice (Spanakorizo)
June 17, 2026
One of my faves.
Papa G’s Magnificient Moussaka
June 17, 2026
A Greek recipe for you.
Chicken Lemonato (Greek Chicken with a Lemon Sauce)
June 17, 2026
My children adore this.
Vanilla Custard in Filo Pastry
June 16, 2026
A Greek dessert.
Greek Feta Cheese Pastries
June 16, 2026
A Greek snack.
Vegan Falafels
June 3, 2026
Plant power!
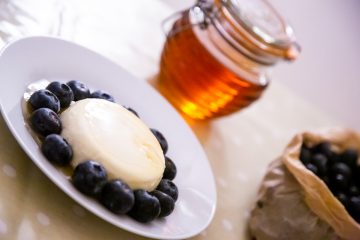
Papa G’s Vanilla Panna Cotta Recipe
June 3, 2026
One of my all-time favourites.
Dark Chocolate Truffles
June 2, 2026
Dark chocolate truffles.
Greek Chicken Soup with Lemon and Rice (Kotosoupa Augolemono)
May 29, 2026
Greek soup.
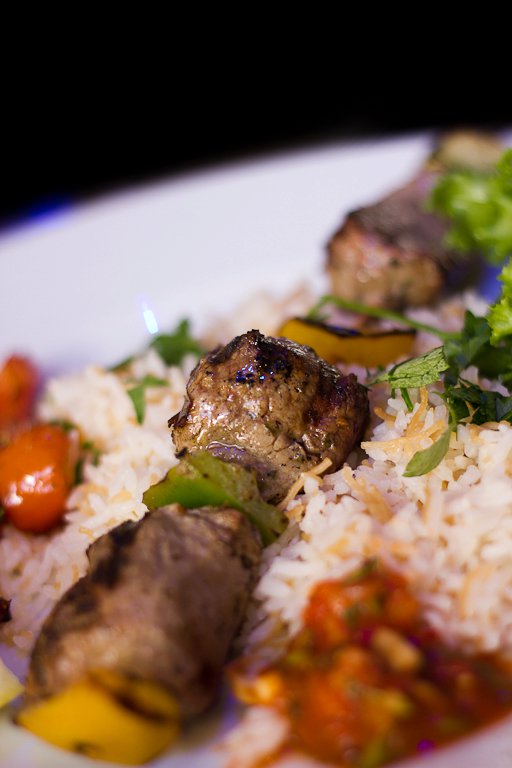
Greek Lamb Kebab Recipe
May 28, 2026
Dad's kebabs.
Spanakopitta (Greek Spinach Pie)
May 27, 2026
A Greek pie.
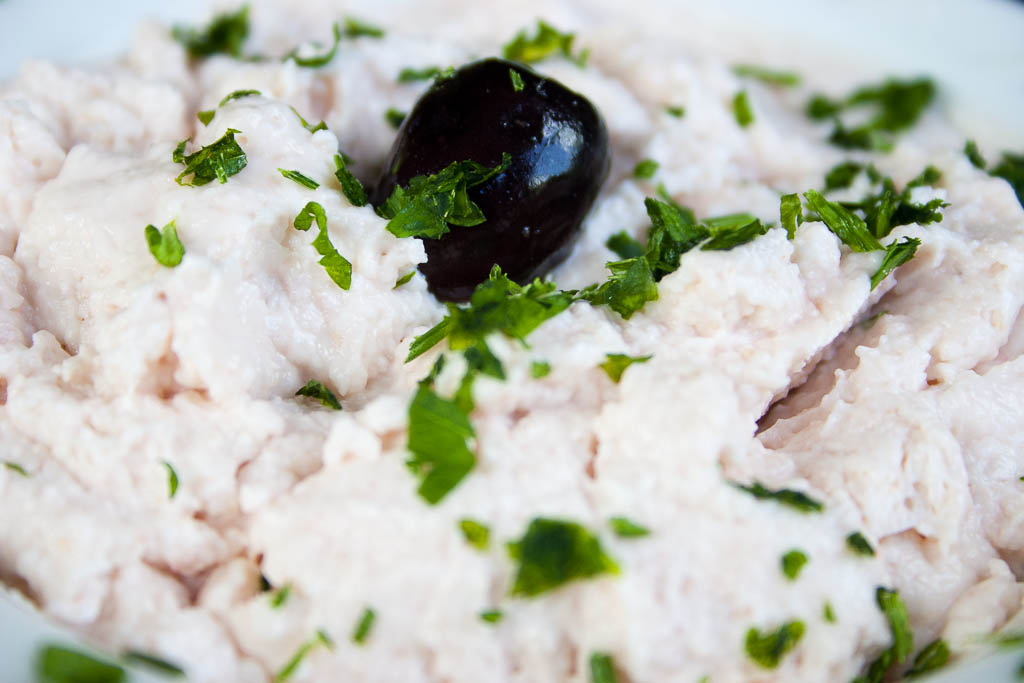
Tantalising Taramasalata
May 27, 2026
The most famous Greek dip.
Melitzanosalata (Aubergine Dip)
May 27, 2026
I adore this dip.
1
2
3
About Me
Categories
Life
Food & Drink
Greek Myths
Travel
Style
Home Decor
Wonderful Women Interviews
Opinion
Competitions
Video & TV
Press
Work With Me
Buy My Book MUMBOSS (UK and Australia)/The Working Mom (US and Canada)
I’ve Written A Children’s Book Retelling Greek Myths!
Type to search or hit ESC to close
See all results